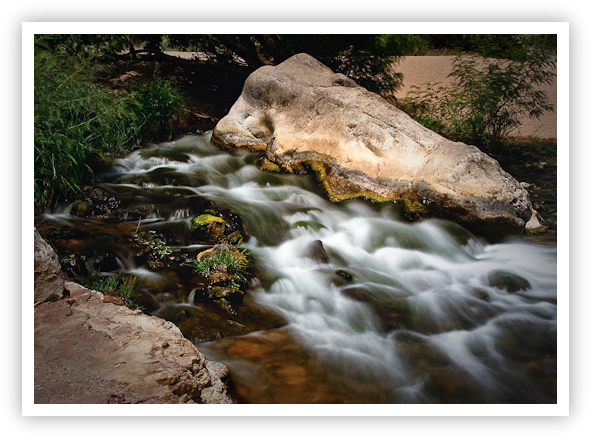
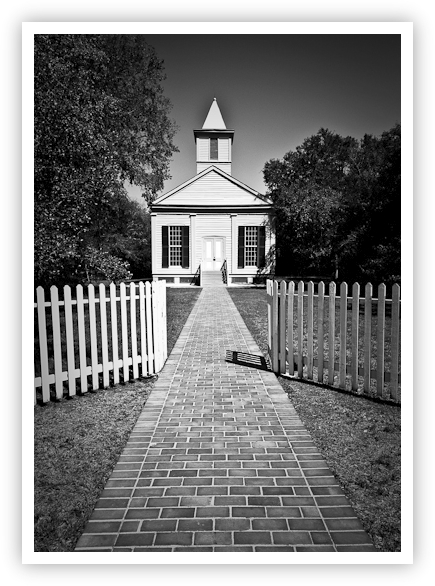
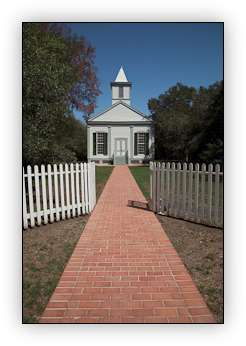
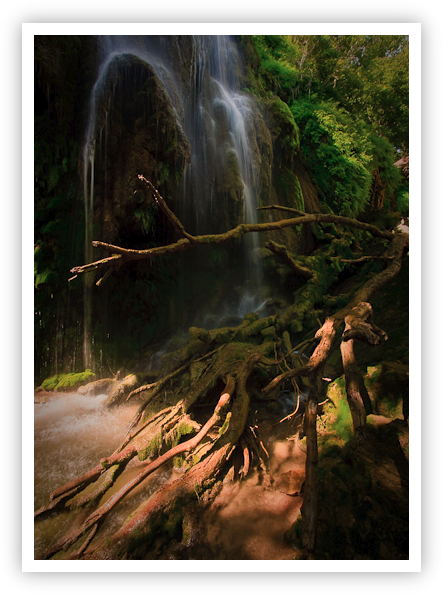
I got an email yesterday from a reader asking for a little more detail about my post capture workflow in Lightroom. It's funny but the actual workflow I use is really determined by the image and the story I want to tell. Some images are converted from Raw to Jpeg in only a few steps (usually to add contrast) and others may take hours of trial and error like this image for example.
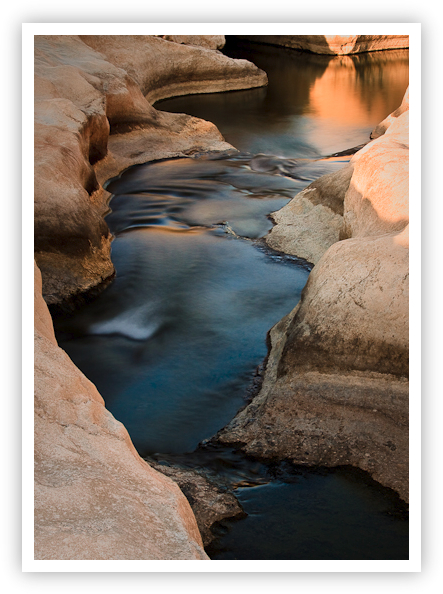
Mirror - Pedernales Falls State Park, Texas
Copyright 2009 Jeff Lynch Photography
Shot taken with a Canon EOS 50D set on aperture priority (Av) using an EF 24-105mm f/4 L IS USM tripod-mounted with a Singh-Ray Vari-ND neutral density filter attached. The exposure was taken at 35mm, f/11 for 8 seconds at ISO 100 on Lexar Professional digital film. Post capture processing was done in Lightroom 2. Click on the image above for a larger version.
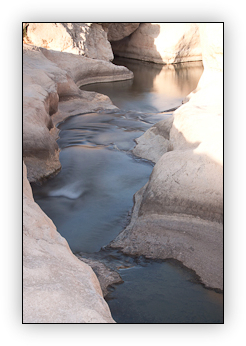
Here's what the raw file looked like in Lightroom 2 before any processing was done. As you can see the long exposure (8 seconds) I used with my Singh-Ray Vari-ND neutral density filter overexposed the image significantly in the highlights. Luckily the silky smooth looking water turned out just as I had hoped, so all in all not a bad place to begin.
My first step is to Crop the image as shown above to eliminate the "clutter" at the top of the frame. The water now runs from the lower right hand corner diagonally to the left and then to right and (hopefully) draws the viewers eye deeper into the scene.
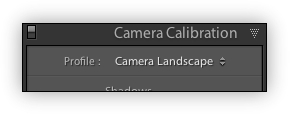
Camera Profile Preset
My next step is to select the Camera Profile preset I wish to use. For landscape shots this is usually Camera Landscape or Camera Portrait because of the extra saturation these two presets add.
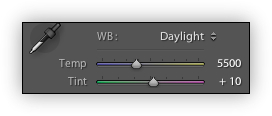
White Balance
Then I set the White Balance directly rather than accepting the default. This usually adds some warmth to the image which most raw landscape images need. If there happens to be any neutral gray in my image I may use the eye-dropper to set a custom WB but most of the time Daylight or Cloudy works well.
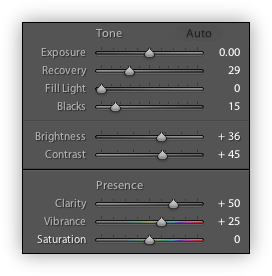
Basic Settings
After setting the White Balance I generally work on the other Basic settings like Exposure, Recovery (very important), Blacks (also very important), Brightness and overall Contrast. I almost always crank up the Clarity (adding mid-tone contrast) and Vibrance (adding mid-tone saturation) and may play with these two settings for 20 or 30 minutes until I find a combination I like.
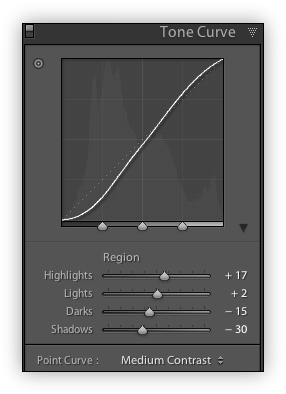
Tone Curve
Finally I begin tweaking the Tone Curve controls until I obtain the contrast desired in the image. A good rule of thumb I always try to follow is to make sure you have some deep black areas and pure white areas when you're done adjusting the Tone Curve. It's that Ansel Adams "Zone" training coming back to me.
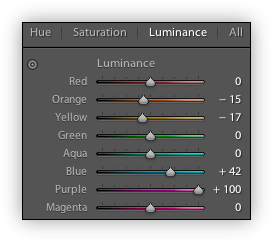
HSL Settings
To enhance the colors and really set the "mood" of the image I'll generally spend quite some time playing around with the Hue, Saturation and Luminance settings. This is where you let your creative side go wild trying different combinations for each color until you obtain just the right look and feel.
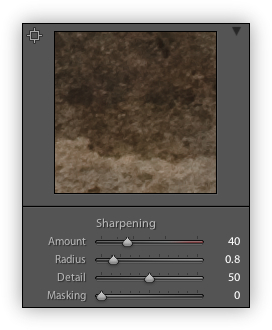
RAW Sharpness Adjustment
The last two steps are the easiest. Every RAW image needs some Sharpening and depending upon your image, the tools built into Lightroom may or may not be up to the job. In this case, the mid-tone contrast of the rocks and water in this image is sharp enough that I can use Lightroom to add just a wee bit more before exporting it.
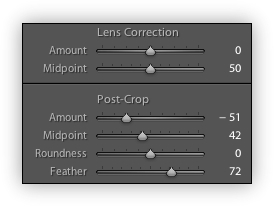
Post Crop Settings
My final step is to add some darkening around the edges to highlight the center of the image. This is commonly done to emphasize the subject and draw the viewer's eye into the image. Ligtroom's Lens Correction and Post-Crop settings do a very good job of this without adding significant noise to the image. I really like how the Feather and Roundness controls allow very detailed control of the vignetting desired.
For an image targeted for the web, I'm done except for exporting the image to a JPEG. For an image that I'm going to print, the workflow is similar but many steps are done in Photoshop CS4 using Nik Software's plug-in filters like Sharpener Pro, Viveza and Dfine. These Photoshop plug-ins allow me greater control and much faster speed than I can achieve in Lightroom itself.
Folks, like anything else in photography, your mileage may vary when using these techniques. Please keep in mind that each image you take is unique and will require it's own workflow. I make no claim that this is the "best" workflow and I'm no Matt Kosklowski, Scott Kelby or Dave Cross. Feel free to comment to your heart's content, but be kind!
Posted in Photography Tagged: Adobe Photoshop Lightroom, Canon, Canon 50D, Pedernales Falls State Park, Photography


![]()
